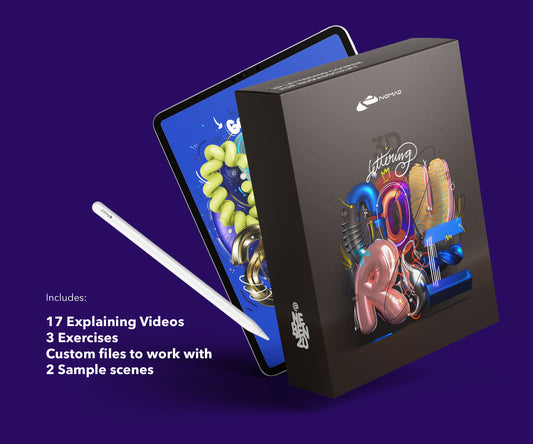
I've printed a bunch of my Nomad Sculpt pieces. Resin printing mostly, on an Elegoo Saturn 4 Ultra. The sculpting is the easy part. Getting the export right for printing takes some practice.
Export format
STL for printing. Not OBJ, not GLB. STL is what every slicer software expects. In Nomad Sculpt, go to the export menu and select STL.
Make sure "Export selection" is off unless you only want to print one object from the scene. For a full composition, export everything at once so the relative positions stay correct.
Scale matters
Nomad Sculpt doesn't work in real-world units. Your model might be 10mm or 10cm when imported into a slicer. Check the dimensions in your slicer (Chitubox, Lychee, PrusaSlicer) and scale to the size you want.
I typically set my final print size in the slicer, not in Nomad Sculpt. It's easier to adjust there because you can see exact millimeter dimensions.
Mesh preparation
Voxel remesh before export. This gives you a clean, uniform mesh without holes or overlapping faces. Printing problems almost always trace back to mesh issues.
Check for thin walls. Parts of your model that look fine on screen might be too thin to print. Especially with typography: letter strokes, serifs, and connecting elements need enough thickness to survive printing.
Close any holes in the mesh. A watertight mesh is required for slicing. Nomad Sculpt's voxel remesh usually handles this, but check in your slicer. Most slicers highlight non-manifold geometry.
Hollowing
For resin printing, hollow your model to save resin and reduce print time. Most slicers have a hollowing function. Add drainage holes at the bottom so uncured resin can drain out.
Wall thickness for hollowed prints: 1.5-2mm is safe for most resin printers. Thinner than that and you risk cracking during cleanup.
Supports
Resin printing needs supports for overhanging parts. Auto-supports work for most shapes. For typography, check the underside of each letter. Overhanging serifs, crossbars on letters like A and H, and the inside curves of letters like B, D, P, R all need support.
Supports leave marks where they attach. Put them on the back or bottom of the piece where marks won't be visible.
Post-processing
After printing: wash in isopropyl alcohol, cure under UV light, remove supports, sand support marks. For multi-piece compositions (like the "Go Wild" lettering piece I posted on Reddit), each letter is a separate print. Different materials and textures for each.
Painting is optional but changes the look completely. Spray primer, then acrylic or enamel paint. I'm still getting better at painting. The 3D modeling is the easy part for me.
My setup
Nomad Sculpt on iPad Pro M2 for modeling. Elegoo Saturn 4 Ultra 16K for resin printing. Chitubox for slicing. The whole pipeline from idea to physical object takes a few hours for simple pieces.
About the Creator
nebenzu is run by Ben, a Munich-based designer and 3D artist with a community of 128,000+ followers across Instagram, TikTok, Threads, YouTube, and X, focused on Nomad Sculpt workflows. The courses come from years of daily work in Nomad Sculpt, creating 3D typography, materials, and visual experiments.
You can find free tutorials and behind-the-scenes content on the nebenzu YouTube channel and Instagram.