Nomad Sculpt Techniques Course | 3D Typography on iPad
Stop guessing. Start creating with intention.
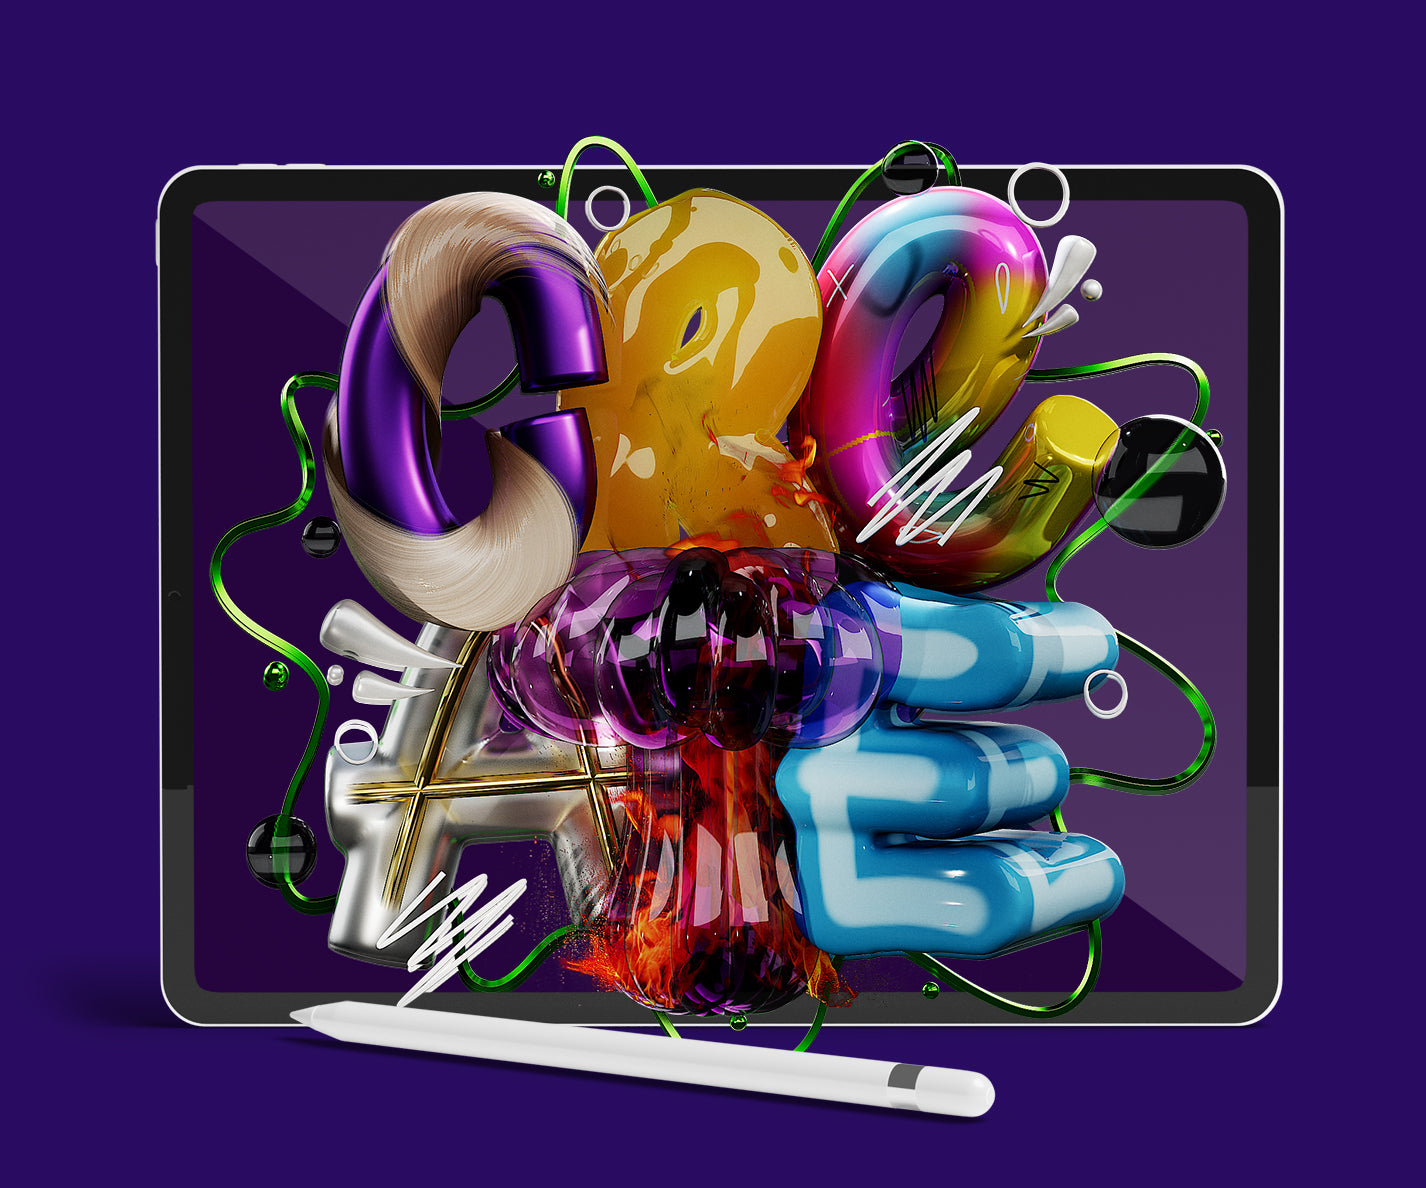
This course covers the techniques I use to create 3D typographic visuals in Nomad Sculpt. Alpha workflows, glass and iridescent materials, triplanar texturing, and the sketch look that keeps getting asked about, all applied to letterforms and type-based compositions.
20 videos. 6 exercises. No filler. Just the stuff that actually moves your typography work forward.
Digital Product - Instant Access after purchase!
Couldn't load pickup availability
The ultimate way to learn different techniques to create awesome artworks!
This course comes in addition to my Nomadsculpt 3D Lettering Course but can also be used and viewed as a standalone course.
5 Modules - Unlimited FUN
Course Content
Set Up and Get Started with Nomad Sculpt
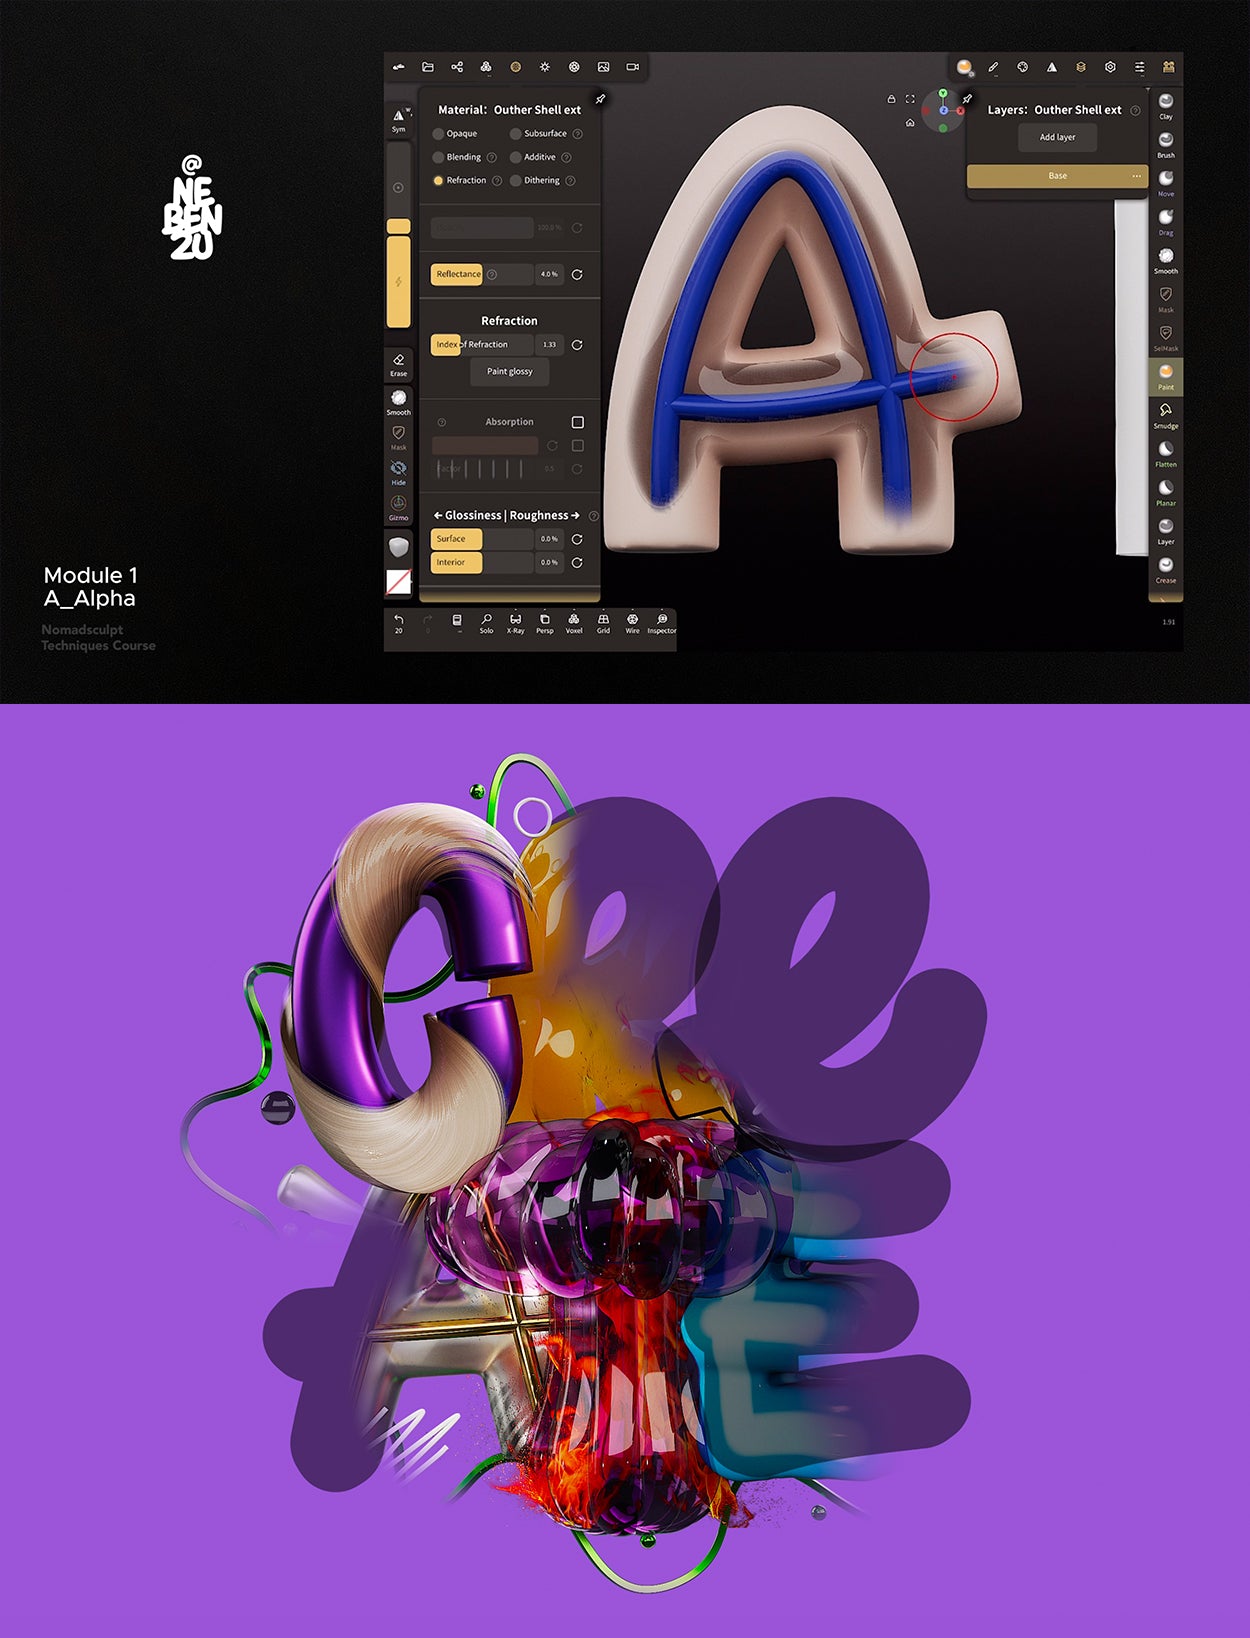
Welcome to the Nomad Sculpt Techniques course! In this course, you’ll learn powerful techniques to elevate your artwork through hands-on modules with sample files, concluding with a project where we’ll combine all learned techniques. After downloading and setting up the course files, you’ll be guided through essential setup steps in Nomad Sculpt to ensure everything’s ready for the first module.
Explore Alpha Effects
(Module 01)
In this first module, you'll explore Nomad's Alpha options by working through a prepared exercise file, beginning with painting on an "A" to reveal hidden layers underneath. You'll learn how to adjust opacity settings, create an Alpha effect, and even add a glass overlay, with tips on maintaining effects when changing materials and an introduction to creating glass effects.
Add Textures with Ease
(Module 01)
With Nomad's new Alpha feature, you can easily apply textures with transparent backgrounds to primitive objects, like a simple tube, without needing UV maps or validation. This flexibility allows you to adjust the tube’s properties, like twisting or radius, and even layer it with a solid background tube for more depth, all while maintaining high visual quality by increasing topology as needed.
Create Movement with Textures
(Module 01)
To create a moving animation on a torus in Nomad, start by adding the torus as a primitive, then apply a color texture and an opacity image for transparency. Adjust the torus’s subdivision if needed, and use the Translation setting in the Material Color Details to shift the image around the torus, where a full rotation spans from 0 to 1. Since Nomad doesn’t support direct animation exports, capture 40 frames by incrementing the translation by 0.025 per frame, then compile the sequence in Procreate’s animation feature.
Transforming a Plane with Alpha Images
(Module 01)
In this final Alpha example, you'll apply a fire image to a plane and use adjustments to make it appear more three-dimensional. After adding the fire color and Alpha images to the plane, increase the subdivisions and validate it, allowing you to use the Move tool to manipulate the plane for a dynamic, 3D fire effect.
Crafting the Letters ‘C’ and ‘A’
(Module 01 - Exercise)
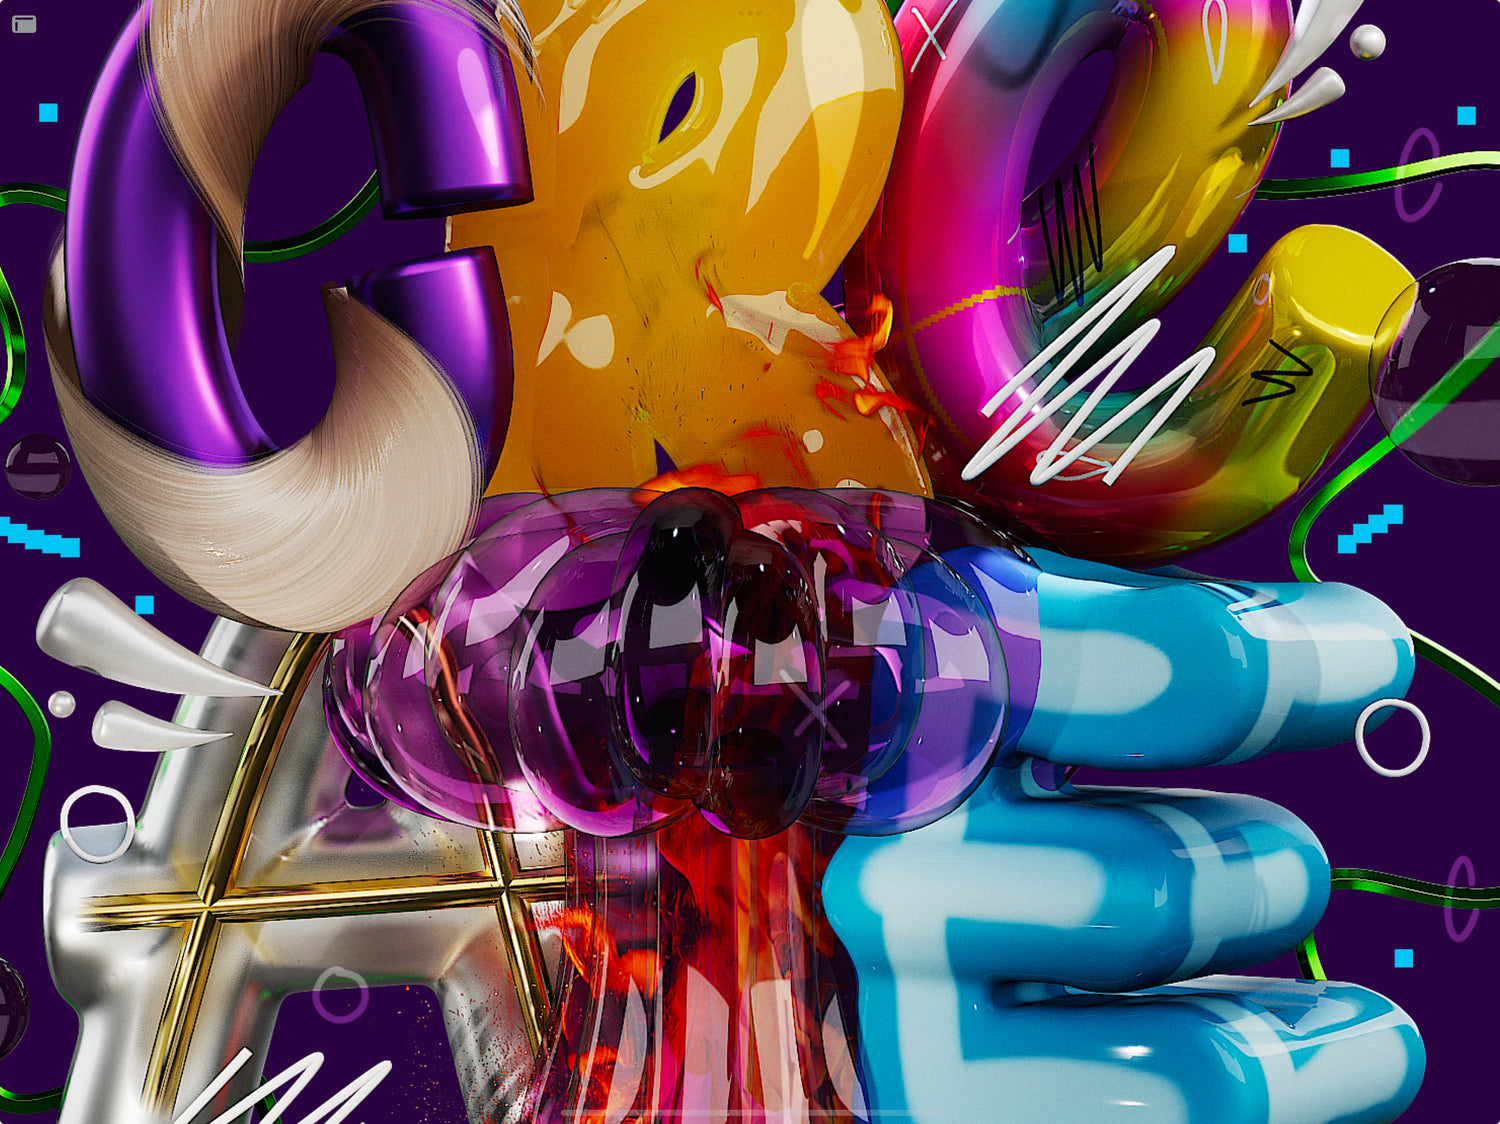
To start the course artwork, use the provided template to create the letters "C" and "A" in Nomad. Begin by drawing a tube over each letter, adjusting thickness and smoothing settings, then apply textures and twist the "C" to add detail. For the "A," group and merge the tubes, smooth them, and apply a metallic material before painting to reveal selected parts. Add inner "A" tubes with a contrasting gold material, scale down as needed, and create a glass effect by extracting and applying refraction. Finally, adjust the depth positioning so the "A" sits behind the "C." Save your work and prepare for the next module on glass effects.
Mastering Glass Effects
(Module 02)
In this module, we’ll dive into creating various glass effects in Nomad, starting with an overview of the key material settings. By enabling Refraction and adjusting sliders like Reflectance, Refraction, Roughness, and Metallic, you can fine-tune the appearance of glass, from clear to frosted or even metallic. Additional options, like Absorption and texture settings, allow for creative effects like tinted or rainbow glass, which we’ll explore in upcoming examples.
Dynamic Tints: Coloured Glass
(Module 02)
To create tinted glass in Nomad, start by assigning a glass material to your object as before. The simplest method to add color is by changing the material's color from white to your desired hue. However, a more advanced technique uses Absorption, which creates richer depth and gradients. To do this, reset the material, activate Absorption, and select the same color while increasing the absorption factor for intensity. This method produces a more dynamic and realistic tinted glass effect with gradients that enhance the object's appearance.
Rainbow Glass
(Module 02)
To create a vibrant rainbow-colored glass effect, start by setting the sphere to a basic glass material using Refraction in the Material Menu. Then, scroll down to the texture options and add an image to the color channel. Select theGlass Color JPEGfrom your course files to apply the rainbow texture.
Create Realistic Gummy Bear Materials
(Module 02)
This demonstration focuses on creating a gummy bear-like material using Refraction and Absorption settings to achieve a rich, gradient effect with a polished, light-catching appearance. Adding imperfections with the Inflate and Crease tools enhances realism, while a backplate preserves the material’s luminous glow even in dark environments.
The ‘R’ and ‘T’ with Glass and Fire
(Module 02 - Exercise)
Create the R using a masked plane, refraction material, and a backplate for a gummy-glass look, then craft the T with the Tube Tool, radial repetition, and a fiery centerpiece for added depth.
Quick Iridescence
(Module 03)
In this module, we’re diving into creating stunning iridescent materials with three unique approaches. Starting with an environment-based method, we combine a custom gradient image, crafted in Procreate, with a glossy material in Nomad to give an entire scene a unified iridescent reflection—perfect for a quick, vibrant effect.
Apply Iridescence with Direct Texturing
(Module 03)
Another way to achieve iridescent effects is by applying the gradient texture directly to the object. By reusing the custom image from the environment method and adding it to the color channel in the Material menu, you can fine-tune its placement and blend it with other materials in your scene—offering more control and flexibility for complex projects.
Paint Seamless Textures in Procreate
(Module 03)
In this method, we create a perfectly seamless texture by exporting the object to Procreate, painting directly onto it, and re-importing the edited OBJ file back into NomadSculpt. This technique allows precise control over the design and ensures the material wraps seamlessly around the object, ideal for adding detailed, customized effects to your artwork.
Shape the Lowercase ‘E’
(Module 03 - Exercise)
In this exercise, we create the lowercase “E” by using the Tube Tool in NomadSculpt, refining its shape, and then exporting it to Procreate to design a seamless texture directly on the object. Once the custom design is complete, the object is re-imported into Nomad, where the texture is applied and refined to finalize the letter.
Tri-Planar Sculpting
(Module 04)
The Tri-Planar Tool allows you to create complex shapes by generating geometry based on three masks: Right, Back, and Bottom. By drawing or erasing directly on these sides, you can shape the object dynamically, optimize its mesh for smoother results, and finalize it by validating and applying materials.
Crafting the Second ‘E’
(Module 04 - Exercise)
Create the second E using the Tri-Planar Tool, adding masks to both sides for a dual-sided design, refining its geometry, applying a blue material, and positioning it seamlessly in the artwork.
Final Touches: Lighting, Elements, and Perspective
(Module 04 - Exercise)
Finalize the artwork by refining the background, adding dynamic elements like tubes, zigzag lines, and glass spheres, enhancing lighting with spotlights and a backlight, repositioning elements for readability, and setting up a perspective camera for a polished, realistic finish.
Matcap Introduction
(Module 05)
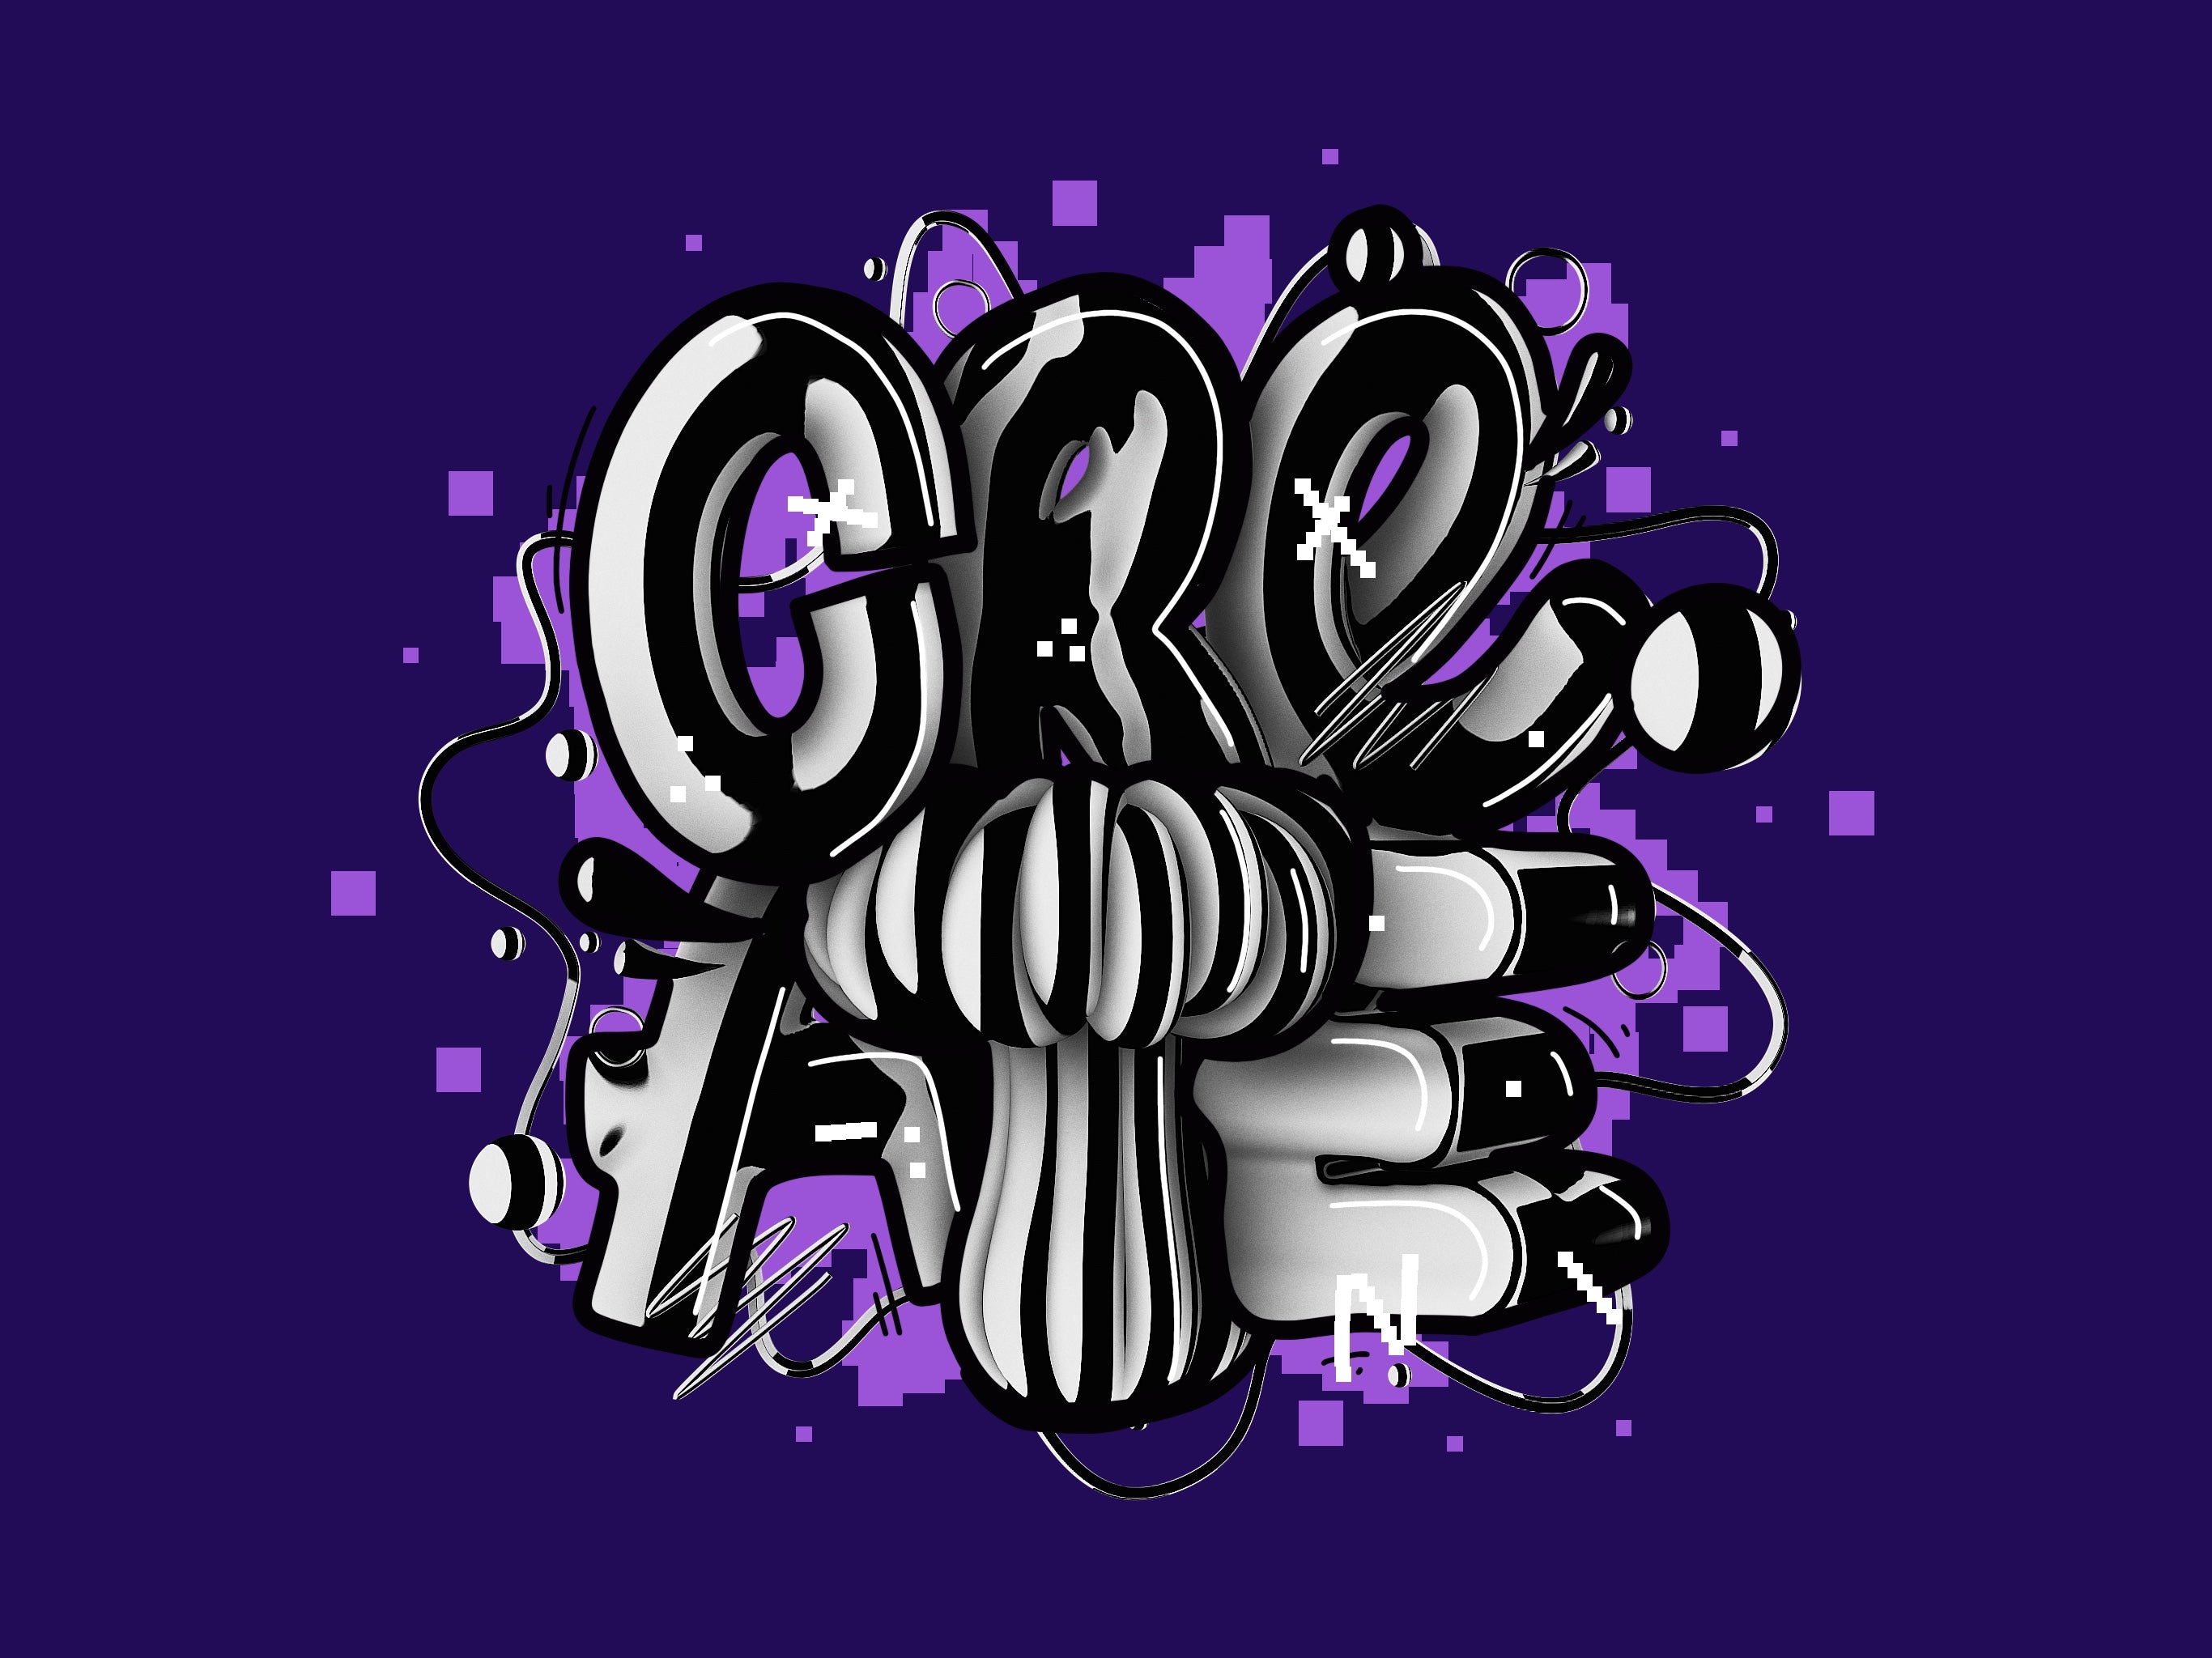
Activate Matcap mode in the shading menu to simulate surface material and lighting without using environment lights, explore available presets or import custom Matcaps created in tools like Procreate, and prepare to use this feature for a quick sketch or stylized look in the next exercise.
Create a sketch version of the course artwork
(Module 05 - Exercise)
Switch to Matcap mode, apply a simple white material to all elements, remove textures, adjust the background and Matcap to reduce dark areas, activate outlines for a sketch effect, and refine the composition to transform your artwork into a 3D sketch look.
Buy once. Get lifetime access.
Dedicated so much time into this course and would love to help if there are any further questions.
-
English, including subtitles.
Voice over screenrecordings with english subtitles. Other subtitle languages can be automatically generated.
-
Course Files
Course includes several files for you to work with: Scene Files, Alphas, Environments, MatCaps and more …
-
Recorded with love
I tried to pack as much knowledge as possible into these videos for you to learn easily.
Students' feedback on my initial course.
-

@angelacashay
I loved your course! I can tell you put much time, thought, and effort into it! I know a lot of people will enjoy and learn from it. Great work!
-

@benthaicreations
I absolutely LOVED this course as I better understand now how things work and was able to create some pieces
-

@guydanieli_luki
I was so happy and excited when you announced the opening of the course! I enjoy every moment and am excited like a little child.
-

@matimontecinoss
Muy bueno el curso, espero ansioso el próximo!
What you need to join the course:
An iPad or iPad Pro / A compatible Apple Pencil / The latest version of Nomadsculpt

