Lighting changed my work more than any other skill in Nomad Sculpt. Same model, same materials. Different lighting and it looks like a completely different piece. Here's how I approach it.
Why default lighting doesn't work
Nomad Sculpt's default light is a flat, even illumination. It shows the shape but kills depth. No shadows, no highlights, no contrast. Everything looks mediocre under it.
Before you decide your piece looks bad, change the lighting. I've seen work go from "meh" to portfolio-ready with nothing but a lighting change.
HDRI environments
An HDRI (High Dynamic Range Image) wraps a photographic environment around your scene. It provides ambient light and, more importantly, reflections.
Metallic materials need something to reflect. Without an HDRI, chrome just looks grey. With the right HDRI, it reflects a studio, a sky, or an interior. That's what makes it look like real metal.
Nomad Sculpt comes with several built-in HDRIs. I use the studio-style ones most often. Controlled highlights, clean reflections. Outdoor HDRIs can work for organic materials but tend to create busy reflections on type.
Directional lights
HDRI alone gives you soft, ambient light. For drama and depth, add directional lights.
Key light: your main light source. Place it to the side and above. This creates shadows that define the form. For typography, shadows between letters create rhythm and readability.
Fill light: softer, from the opposite side. Fills in the darkest shadows so they're not completely black. Lower intensity than the key light.
Rim light: behind the subject, aimed at the edges. Creates a bright outline that separates the object from the background. Especially effective on metallic and glossy surfaces.
Lighting for different materials
Metallic: needs strong highlights and an HDRI with distinct bright spots. Flat HDRIs make metal look dull.
Matte: responds more to directional light than reflections. A strong key light with visible shadows shows the form best.
Glass: needs both. HDRI for reflections on the surface, directional light for caustics and refraction. Glass without proper lighting is invisible.
Wood and organic: warm-toned directional light works well. Avoid harsh, cool lighting unless that's the mood you want.
Post-processing
After setting up lights, turn on post-processing. AO adds contact shadows in crevices. Bloom adds glow to bright highlights. Depth of field blurs the background for focus.
These effects are subtle individually but compound. The combination of good lighting and post-processing is what makes renders look finished.
My default setup
Studio HDRI, one key light from upper-left at about 45 degrees, one rim light from behind-right. AO on. Bloom at 20-30%. Adjust from there based on the material and mood.
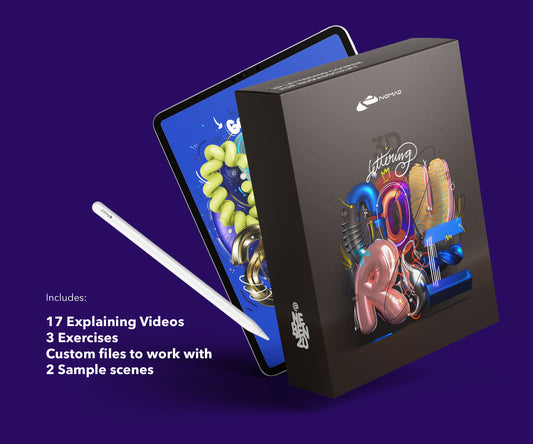
The Techniques Course walks through lighting setups for different material combinations and visual styles.
About the Creator
nebenzu is run by Ben, a Munich-based designer and 3D artist with a community of 128,000+ followers across Instagram, TikTok, Threads, YouTube, and X, focused on Nomad Sculpt workflows. The courses come from years of daily work in Nomad Sculpt, creating 3D typography, materials, and visual experiments.
You can find free tutorials and behind-the-scenes content on the nebenzu YouTube channel and Instagram.