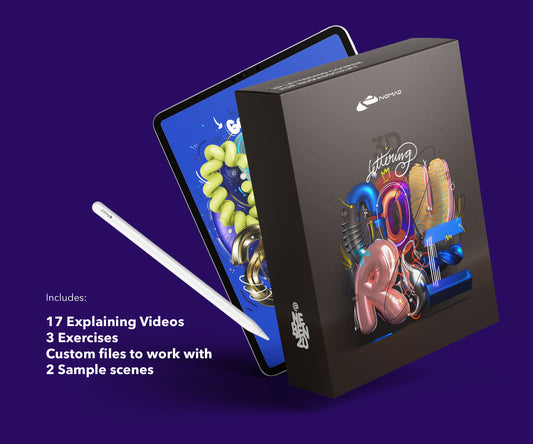
I built 64 materials for Nomad Sculpt because I got tired of tweaking the same sliders every project. Metal, wood, stone, fabric. Each one sets color, roughness, metallic, and normal maps in one tap.
Here's how materials work in Nomad Sculpt and how to get the most out of them.
What a material actually does
A material in Nomad Sculpt controls four things at once. Color (the base look). Roughness (matte vs shiny). Metallic (does it reflect like metal or not). And a normal map, which fakes surface detail, scratches, grain, pores, without adding geometry.
Apply "brushed steel" and all four update together. Right color, high metallic, medium roughness, directional normal map for the brush marks. One tap.
How to apply materials
Select your object. Open the Material Menu (sphere icon). For basic looks, adjust the sliders. For material packs with textures, tap the texture slot for each channel and load your maps.
The one setting most people miss: triplanar mapping. Without it, your textures stretch on anything that's not flat. Triplanar projects from three directions and blends at the seams. Turn it on and leave it on.
Built-in vs custom materials
Nomad Sculpt ships with basic presets. Solid colors with slider values. Fine for quick tests.
Custom material packs include texture maps for all PBR channels. That's what makes the difference between "shiny grey" and actual brushed aluminum. Wood grain with real fiber detail. Stone with pores and surface variation.
What's in my material pack
64 materials across metals, wood, stone, fabric, organic, and specials like carbon fiber and ice. Each one is built with correct PBR values, so they respond to lighting properly. Metal reflects the environment. Wood absorbs more light. Stone has subtle surface variation.
All textures come in 4K and 1K versions. Use 4K on hero objects, 1K on background stuff to save memory.
Installing materials
Download the pack to your iPad. Unzip if needed. In Nomad Sculpt, open Material Menu, tap the texture slot for the channel you want (Color, Roughness, Metallic, Normal), navigate to the file. Repeat for each channel, then save as a preset. Next time you need it, one tap.
Tips from building 64 materials
Scale trips people up. A wood grain that looks right on a table looks weird on a figurine. Always adjust scale to match your object.
Materials only look as good as your lighting. A metallic surface with no HDRI to reflect is just a shiny color. I always test with at least one directional light and an environment map.
Layering is where it gets interesting. Paint one material as the base, then use masking to add a second in specific areas. Rust on metal, moss on stone, wear on edges.
Common mistakes
Skipping the normal map. That's what gives materials their surface detail. Metal without its normal map is just a shiny color.
Wrong metallic values. In PBR, metallic is binary. Real surfaces are either metal (1.0) or non-metal (0.0). Values in between create unrealistic results. The only exception is painting transitions, like rust on metal.
No environment to reflect. Metallic and reflective materials need something to reflect. Blank white background makes everything look flat. Use an HDRI or at least a gradient.
Free alternatives
ambientCG.com has free PBR textures (CC0 license). Download the sets and load each channel manually. More work than a ready-made pack, but free.
Polyhaven textures are another good free source. Same manual setup process.
If you want everything ready to go, the Smart Materials Pack has 64 materials built specifically for Nomad Sculpt.
About the Creator
nebenzu is run by Ben, a Munich-based designer and 3D artist with a community of 128,000+ followers across Instagram, TikTok, Threads, YouTube, and X, focused on Nomad Sculpt workflows. The courses come from years of daily work in Nomad Sculpt, creating 3D typography, materials, and visual experiments.
You can find free tutorials and behind-the-scenes content on the nebenzu YouTube channel and Instagram.